This article is about the default client for MongoDB: the MongoDB Mongo shell. In this article, we’ll:
- Define the mongo shell
- Share essential features
- Give connection tips
- Introduce basic commands
- Explore disadvantages
- Compare alternatives
This tutorial is part of our multi-part MongoDB Guide, which you can navigate using the right-hand menu.
What is the MongoDB Mongo shell?
MongoDB Mongo shell is an interactive JavaScript interface that allows you to interact with MongoDB instances through the command line. The shell can be used for:
- Data manipulation
- Administrative operations such as maintenance of database instances
MongoDB Mongo shell features
MongoDB Mongo shell is the default client for the MongoDB database server. It’s a command-line interface (CLI), where the input and output are all console-based. The Mongo shell is a good tool to manipulate small sets of data.
Here are the top features that Mongo shell offers:
- Run all MongoDB queries from the Mongo shell.
- Manipulate data and perform administration operations.
- Mongo shell uses JavaScript and a related API to issue commands.
- See previous commands in the mongo shell with up and down arrow keys.
- View possible command completions using the tab button after partially entering a command.
- Print error messages, so you know what went wrong with your commands.
MongoDB has recently introduced a new mongo shell known as mongosh. It has some additional features, such as extensibility and embeddability—that is, the ability to use it inside other products such as VS Code.
Installing the mongo shell
The mongo shell gets installed when you install the MongoDB server. It is installed in the same location as the MongoDB server binary.
If you want to install it separately, you can visit the MongoDB download center, from there select the version and package you need, download the archive, and copy it to a location in your file system.
Mongo shell is available for all main operating systems, including:
- Windows
- Linux
- Mac OS
Connect to MongoDB database
Once you’ve downloaded and installed MongoDB, you can use the mongo shell to connect with a MongoDB server that is up and running.
Note: It is required that your server is already running before you connect with it through the shell. You can start the server in CMD using the following command.
net start MongoDB

Then type mongo command to run the shell.
Mongo

Now you are in the Mongo shell.
If you want, you can run the mongo and mongod without the command prompt. To do this, go to the installation location and double click on the mongod and mongo applications. You will get the same result as the above.
Different port
The above mongo command only works if your MongoDB server runs on the default port, which is 27017. If your MongoDB server runs on a different port, you have to explicitly specify it in the command, as shown below:
mongo --port 28010
Remote server
Both of the above commands only work if your MongoDB server is running on the localhost. If you want to connect to a remote server, use the `–host` option with the mongo command, as shown below.
mongo --host mongodb0.example.com --port 28010
Basic commands for Mongo shell
Now it’s time to work with the Mongo shell. First, we will learn some basic commands that will help you to get started with using MongoDB.
Run the db command to see the database you are currently working with
db

Run the use command to switch to a different database. If you don’t have a database, learn how to create a new database.
use company

You can create collections and insert data with the following command:
- db refers to the current database in use.
- employee is the collection name.
- insertOne is the method to insert a document to the collection.
db.employee.insertOne( { name: "mark" } );

Use the find method to fetch data in a collection. The forEach(printjson) method will print them with JSON formatting
db.employee.find().forEach(printjson)

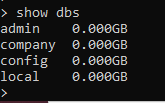
Use the show dbs command to Show all databases
show dbs

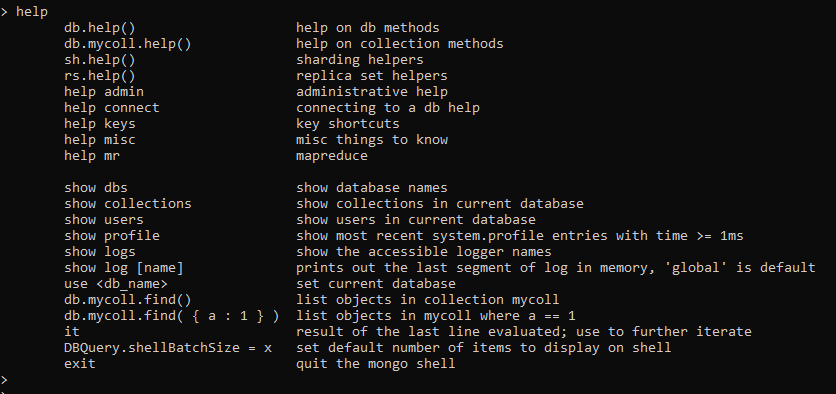
One important command will help you work with the Mongo shell easily: the help command. Run the help command to get a list of help options available in the mongo shell.
Help

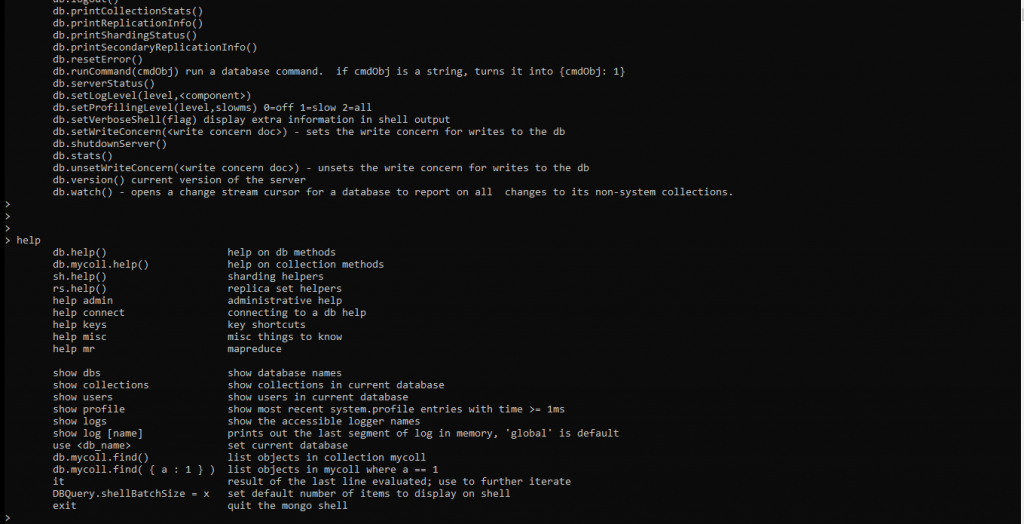
To get a full list of commands that you can execute on the current database, type db.help()

We will discuss more data manipulation commands in coming tutorials. For a full list of commands, check out the official Mongo shell page.
Mongo shell keyboard shortcuts
There are two important keyboard shortcuts that you should know:
- Use up and down arrows to go back and forth in the commands history.
- Press the tab key to get a full list of possible commands. For example, type d and press tab twice. You will get the following output.

Disadvantages of the mongo shell
Although the Mongo shell is an excellent tool for learning and testing the MongoDB server, it is difficult to be used in a production environment. Being a shell inherently carries certain disadvantages. Let’s see what they are:
- The Mongo shell is strictly a console centric method of data manipulation. While some find it easy and quick, others might not find those characteristics appealing.
- If you are working on multiple sessions, you need multiple terminals.
- If the results are too long, they scroll away.
- Repetitive commands or debugging a function need the programmer to traverse the long command line history manually.
Alternatives to MongoDB mongo shell
So now you know the mongo shell has some disadvantages. At this point, you may want to know what other options are available. MongoDB developers have introduced drivers specific to each programming language to connect with the MongoDB databases when using MongoDB in your applications. You can find them here.
Additionally, many people prefer to use GUIs to work with databases nowadays. One of the best GUI tools for MongoDB is the MongoDB Compass. Some other useful GUI tools are:
Remember that the best MongoDB GUI depends on the task that needs to be accomplished. MongoDB Compass is the go-to option if you need to avoid the command line completely. Robo 3T is simple and well supported by the community, while NoSQLBooster is shell centric smart GUI tool.
With that, we’ve reached the end of this tutorial. Now, play with the shell and get practice.
Additional resources
For more tutorials like this, explore these resources:


